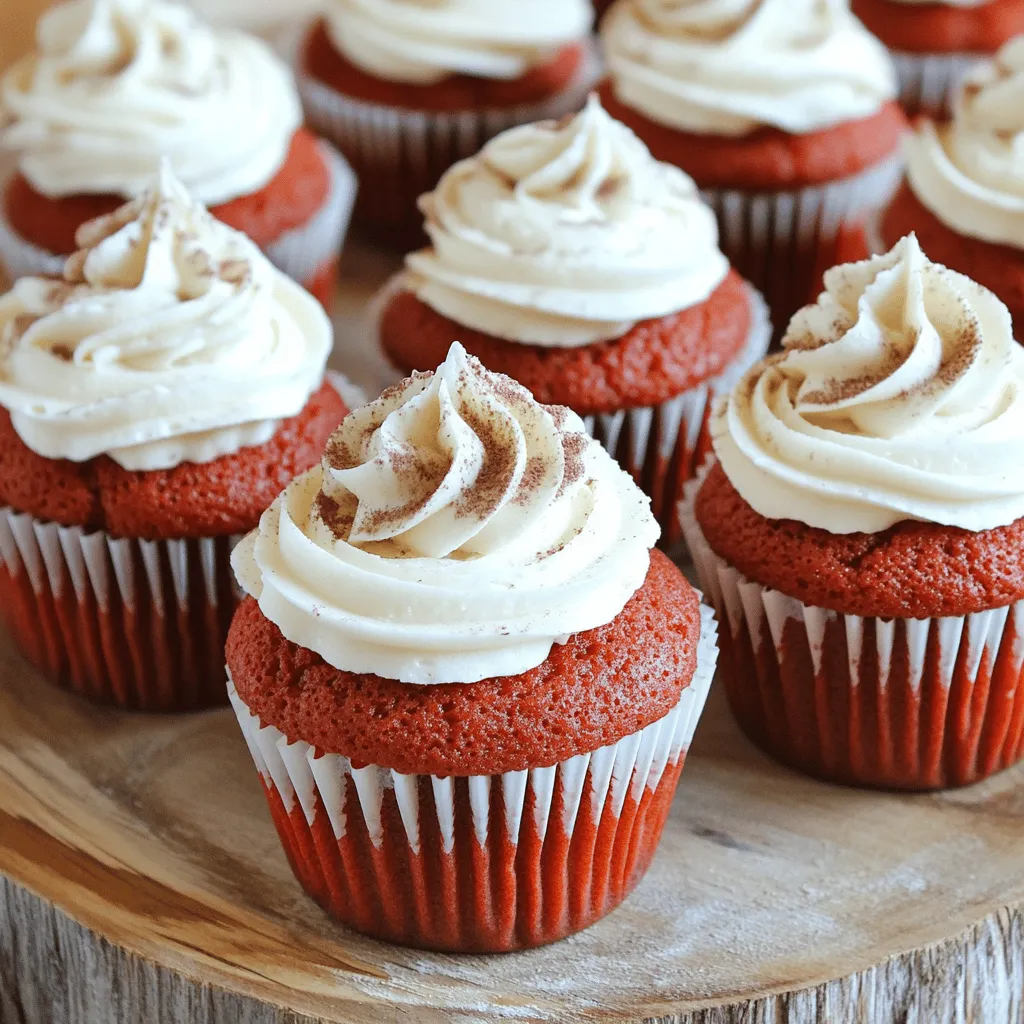
Welcome to the world of baking where classic red velvet cupcakes reign supreme! If you crave a treat that’s both rich and vibrant, you’re in the right place. In this post, I’ll guide you through each step of creating these irresistible delights, complete with tips, variations, and storage secrets. Let’s get started and make cupcakes that are sure to impress!
Ingredients
List of Ingredients for Classic Red Velvet Cupcakes
– 1 ½ cups all-purpose flour
– 1 cup granulated sugar
– 1 tsp baking soda
– 1 tsp unsweetened cocoa powder
– 1 tsp salt
– 1 cup vegetable oil
– 1 cup buttermilk, at room temperature
– 2 large eggs, at room temperature
– 2 tbsp red food coloring
– 1 tsp pure vanilla extract
– 1 tsp white vinegar
For the Cream Cheese Frosting:
– 8 oz cream cheese, softened to room temperature
– ½ cup unsalted butter, softened to room temperature
– 4 cups powdered sugar
– 1 tsp pure vanilla extract
Key Ingredients Explained
The main star of red velvet cupcakes is the food coloring. It gives them that bright red hue. The cocoa powder adds a hint of chocolate flavor, but it does not overpower the cake. The buttermilk keeps the cupcakes moist and adds a slight tang. Using room temperature eggs helps create a smooth batter.
The cream cheese frosting is rich and creamy. It balances the sweetness of the cake. The butter in the frosting adds a nice texture, while the powdered sugar sweetens it perfectly.
Substitutions for Common Ingredients
You can replace buttermilk with regular milk mixed with a bit of vinegar. Just add 1 tsp of vinegar to 1 cup of milk, stir, and let it sit for 5 minutes. If you don’t have vegetable oil, you can use melted coconut oil or canola oil.
For a lighter frosting, you could use whipped cream instead of cream cheese. If you want to skip the food coloring, use beet juice for a natural alternative. Just remember, it might change the taste a bit!
Step-by-Step Instructions
Prepping the Oven and Muffin Pan
Start by preheating your oven to 350°F (175°C). This step is key for even baking. Next, line a standard muffin pan with cupcake liners. This makes for easy removal and adds a pop of color.
Mixing Dry Ingredients
In a large mixing bowl, sift together the dry ingredients. Combine 1 ½ cups of all-purpose flour, 1 cup of granulated sugar, 1 tsp of baking soda, 1 tsp of unsweetened cocoa powder, and 1 tsp of salt. Mixing these well ensures that the flavors blend nicely.
Combining Wet Ingredients
In another bowl, whisk together the wet ingredients. Mix 1 cup of vegetable oil, 1 cup of buttermilk, 2 large eggs, 2 tbsp of red food coloring, 1 tsp of pure vanilla extract, and 1 tsp of white vinegar. Make sure it is smooth and fully blended.
Mixing and Baking the Batter
Gradually pour the wet mixture into the dry ingredients. Stir gently until just combined. It is okay to have a few lumps. Next, fill each cupcake liner about two-thirds full with batter. This allows them to rise properly. Place the muffin pan in the oven and bake for 18-20 minutes. Check for doneness by inserting a toothpick in the center of a cupcake. If it comes out clean, they are ready.
Cooling and Frosting the Cupcakes
Once baked, take the muffin pan out of the oven. Let the cupcakes cool in the pan for 5 minutes. Then, move them to a wire rack to cool completely. While they cool, prepare the cream cheese frosting. Beat 8 oz of softened cream cheese and ½ cup of softened butter until smooth. Gradually mix in 4 cups of powdered sugar and 1 tsp of pure vanilla extract. Once the cupcakes are cool, frost each one generously.
Tips & Tricks
Achieving the Perfect Texture
To get soft and fluffy red velvet cupcakes, use room-temperature ingredients. Cold butter or eggs can lead to dense cupcakes. Mix the wet and dry ingredients gently. Overmixing can create tough cupcakes. Aim for a batter that is just combined. A few small lumps are fine.
Common Mistakes to Avoid
One common mistake is using too much flour. Always measure flour correctly. Spoon it into the measuring cup and level it off. Another mistake is skipping the vinegar. The vinegar helps the baking soda work better, giving your cupcakes a nice rise. Don’t forget to let the cupcakes cool completely before frosting. Frosting on warm cupcakes can make a messy situation.
Decorating Ideas for Presentation
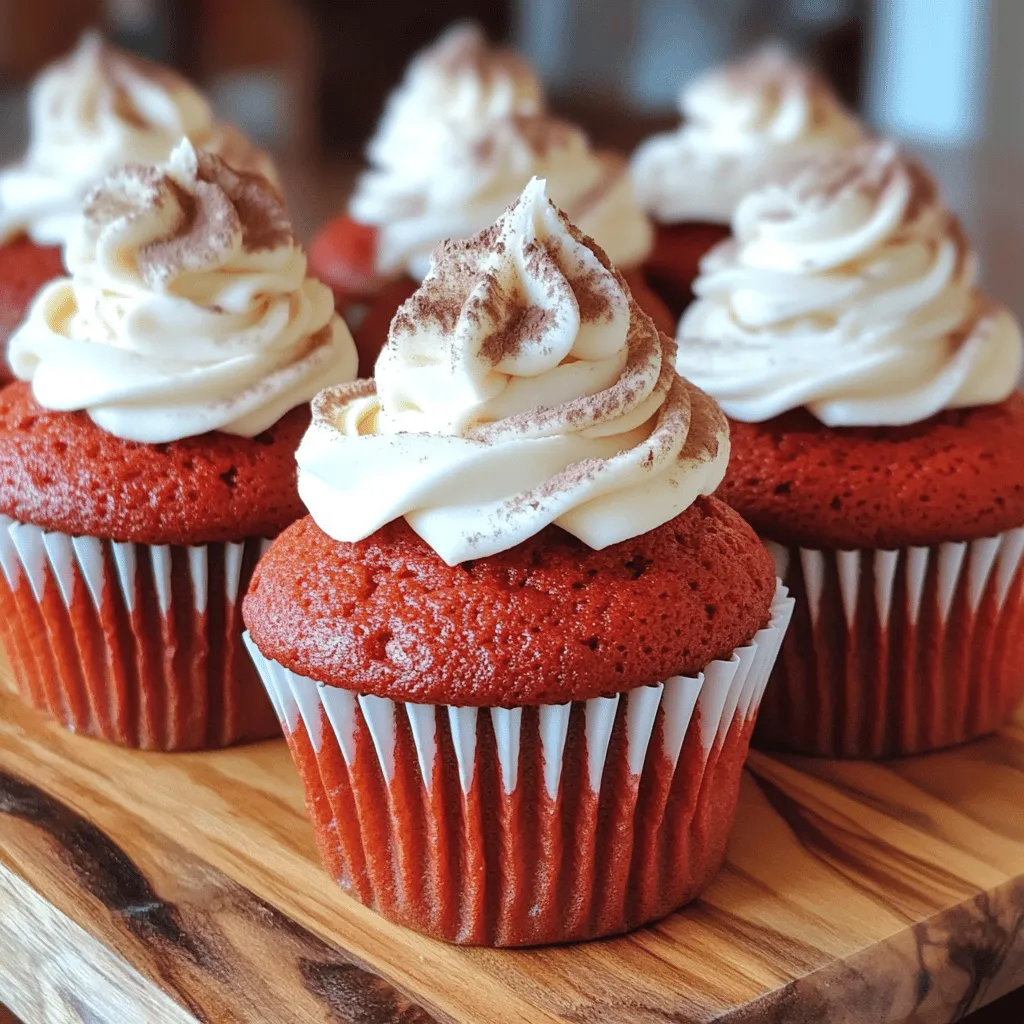
Make your cupcakes look as good as they taste! Use a piping bag with a star tip for a professional touch. For a fun twist, top with fresh berries or chocolate shavings. You can also drizzle some melted chocolate on top for added flair. Dusting with cocoa powder or edible shimmer gives an elegant finish.
Variations
Frosting Alternatives: Cream Cheese vs. Buttercream
When it comes to frosting your red velvet cupcakes, you have options. The classic choice is cream cheese frosting. This frosting adds a tangy flavor that pairs well with the sweetness of the cupcake. It’s rich and creamy, making each bite a delight.
If you want a sweeter option, consider buttercream. This frosting is smooth and fluffy. You can customize it with different flavors, like vanilla or chocolate. Both frostings look beautiful when piped on top of the cupcakes. Choose the one that fits your taste!
Adding Flavor Variations (Mint, Almond, etc.)
Red velvet cupcakes are great on their own, but adding flavors can make them even better. Try adding a few drops of mint extract for a refreshing twist. Almond extract can give your cupcakes a nutty taste. These small changes can create a unique experience.
You can also mix in different spices. A pinch of cinnamon or nutmeg can add warmth to your cupcakes. Experimenting with flavors is fun and can surprise your friends and family with new tastes!
Gluten-Free and Vegan Options
If you or your guests have dietary needs, you can make red velvet cupcakes that fit. For gluten-free cupcakes, swap all-purpose flour with gluten-free flour blends. Many blends work well, but check the package for best results.
For a vegan version, replace eggs with flax eggs or applesauce. Use plant-based milk instead of buttermilk. You can also find vegan butter for the frosting. These swaps can keep the delicious taste while making the recipe more inclusive.
With these variations, your red velvet cupcakes can suit any occasion, preference, or dietary need.
Storage Info
How to Store Leftover Cupcakes
To keep your leftover cupcakes fresh, place them in an airtight container. You can put a piece of parchment paper between layers to avoid sticking. Store them at room temperature for up to three days. If you want to keep them longer, the fridge is a good option. Just remember to bring them to room temp before serving.
Best Practices for Freezing Cupcakes
Freezing is a great way to save cupcakes for later. First, let them cool completely. Then, wrap each cupcake tightly in plastic wrap. Put them in a freezer-safe bag or container. They can stay fresh in the freezer for up to three months. Just label the bag with the date to keep track.
Reheating Frozen Cupcakes
When you’re ready to enjoy those frozen treats, take them out of the freezer. Unwrap them and let them sit at room temperature for about 30 minutes. For a warm cupcake, pop it in the microwave for about 10-15 seconds. This will make the cake soft again and melt the frosting just right. Enjoy these cupcakes with a great cup of coffee or tea.
FAQs
What makes red velvet cupcakes red?
Red velvet cupcakes get their color from red food coloring. You can use natural beet juice for a healthier option. The cocoa powder also plays a role in giving a slight reddish hue. The mix of these ingredients creates that classic red color we all love.
Can I make the cupcakes in advance?
Yes, you can make these cupcakes in advance. Bake them a day or two ahead of time. Just store them in an airtight container. Frost them right before serving to keep the frosting fresh and creamy.
How do I prevent my cupcakes from sinking?
To prevent sinking cupcakes, don’t overmix the batter. Overmixing adds too much air, which can cause sinking. Also, make sure your baking powder is fresh. Proper oven temperature is key; always preheat your oven before baking.
What’s the difference between red velvet cake and chocolate cake?
Red velvet cake has cocoa powder, but it’s not as chocolaty as chocolate cake. It also has buttermilk, giving it a unique flavor and moist texture. The red color and cream cheese frosting set it apart, making it a special treat.
You learned about making classic red velvet cupcakes. We covered key ingredients, step-by-step instructions, and tips for success. You now know about frosting options and fun variations. Remember to store unused cupcakes correctly to keep them fresh.
Baking these cupcakes is a fun way to enjoy a treat. With these tips, you can impress friends and family. Enjoy experimenting with flavors and decorations to make them your own. Happy baking!